A good square avatar has to work hard in very little space. The guidance below focuses on choices you can see and test, without complicated design software.
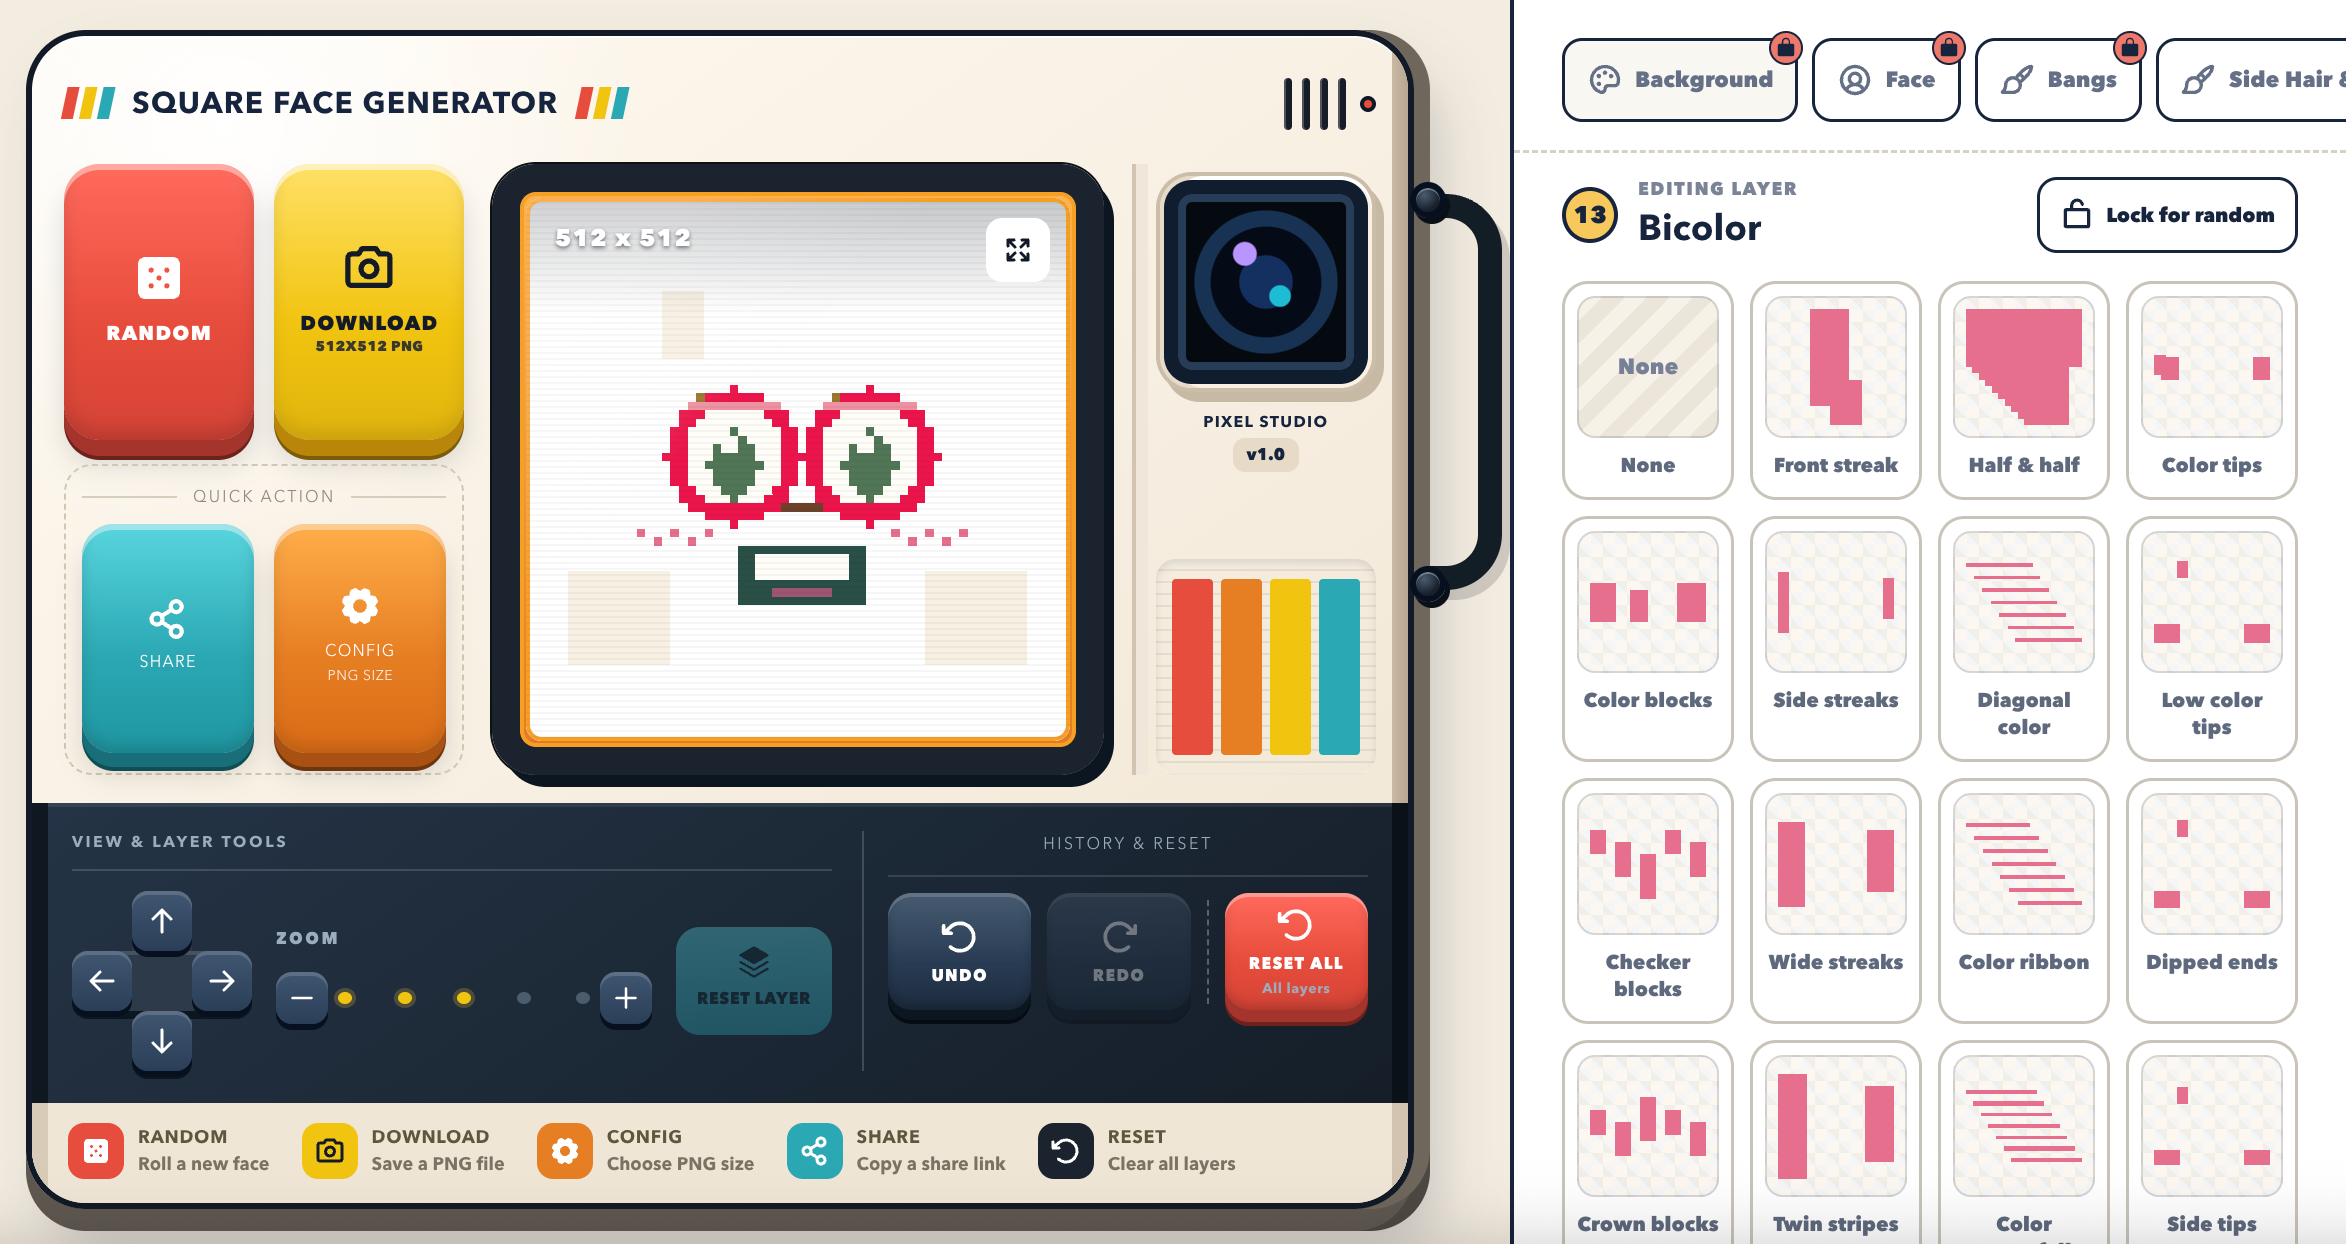
Face Square Generator is a browser-based maker for creating a pixel-style square avatar from individual layers. You can build a look from scratch, use Random to discover a starting point, then keep refining the face, hair, colors, accessories, and background until it feels like your own.
This walkthrough uses the live controls in the generator. The screenshots and video below show the real interface, so each step matches what you can do on the page.
1. Start with the editor and choose a layer
The preview screen in the middle shows your avatar as you work. The category tabs on the right let you select the background, face, bangs, side hair, eyes, brows, nose, mouth, details, eyewear, outfit, accessories, and bicolor effects. Pick a category, then choose one of its tiles to update that part immediately.
The left control bank gives you the most useful actions: Random makes a fresh combination, Download saves the current PNG, Share copies a link for the current design, and Config opens the PNG-size choices. If you find a layer you want to preserve while exploring, use Lock for random before pressing Random again.
2. Try Random, then keep what you like
Random is a quick way to explore combinations you might not have picked yourself. Watch the short recording below: the avatar changes in the live preview, while you can still return to a previous version with Undo or build from the new result. Lock an important layer first if you want that part to stay unchanged.
3. Set the colors for the part you selected
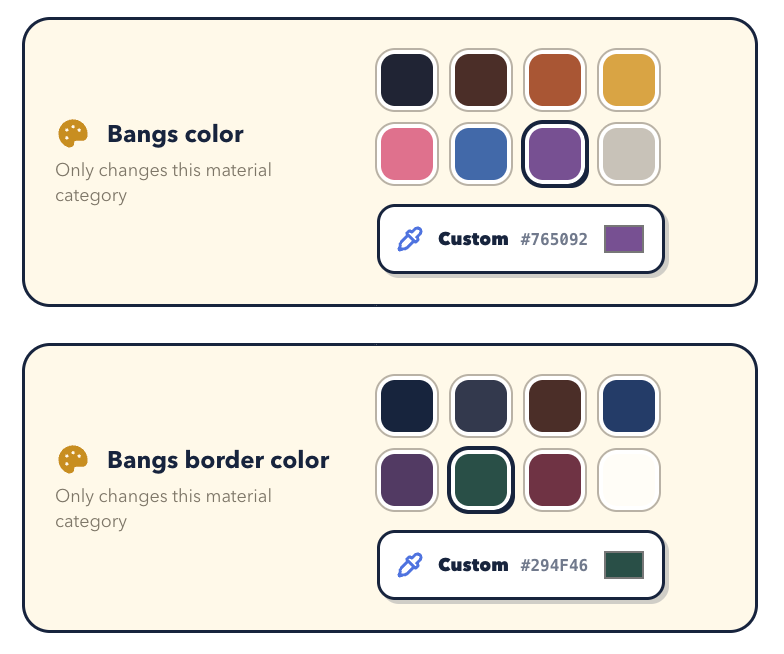
Choose a color category from the editor to reveal the swatches that apply to that material. In the example below, the tool has separate controls for the bangs color and the bangs border color. Select a swatch for a fast change, or use Custom when you want to enter a precise hex value.
This separation is useful for contrast: a lighter hair fill with a darker outline can remain readable against a bright background, while a coordinated accent can connect hair, clothing, and extras without making the avatar too busy.
4. Move and zoom the active layer
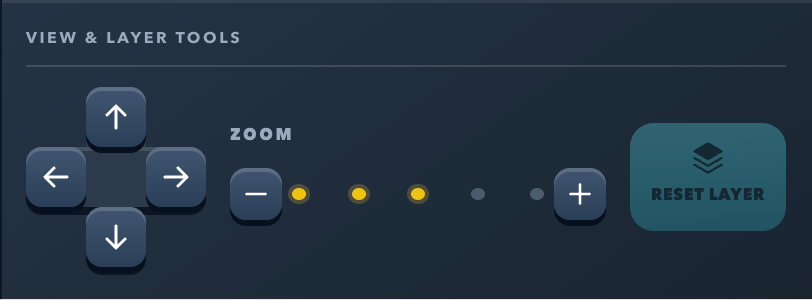
Use the directional pad in View & Layer Tools to move the current layer up, down, left, or right. The minus and plus buttons control its zoom level. These small adjustments are especially helpful for glasses, a hat, an accessory, or a hair layer that needs more breathing room around the face.
If a test does not work, choose Reset layer to restore that one layer's default position and scale. This is safer than resetting the entire avatar when you only want to correct one detail.
5. Choose the PNG size before downloading
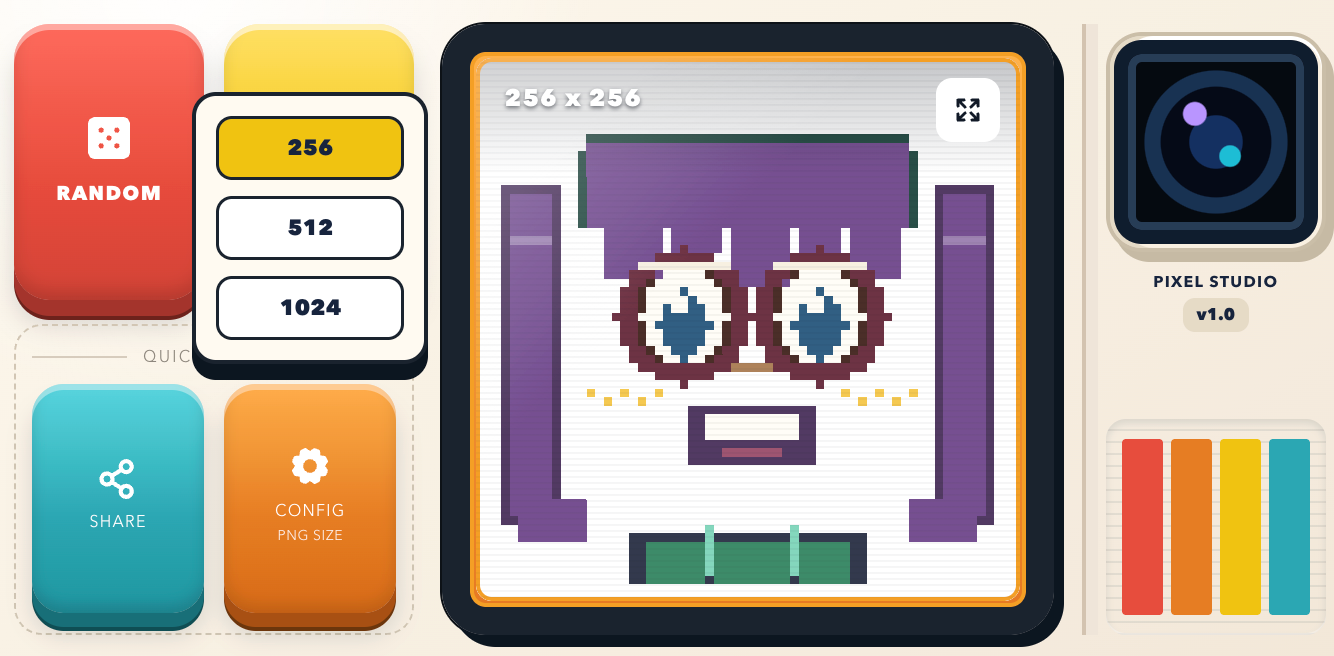
Select Config beside the main controls to open three export sizes: 256 × 256, 512 × 512, and 1024 × 1024. The preview badge changes to show the selected dimensions, then Download saves the current avatar as a square PNG.
Use 256 × 256 for a small, lightweight icon. For most profile pictures, 512 × 512 is a practical default. Choose 1024 × 1024 when you want a larger master image for a community profile, a stream graphic, or a future crop.
Finish with a shareable version
Before you download, look at the preview at a small size and make sure the face, hair shape, and one key detail are still easy to recognize. When you want to keep a version editable, use Share as well as Download. The copied link stores the current maker state, so you can open the same combination later and continue editing it in the browser.
Put the idea into practice
Open the maker, try a few combinations, and download a crisp PNG when the face feels right.
Create a square avatar